Rosemary Rolls
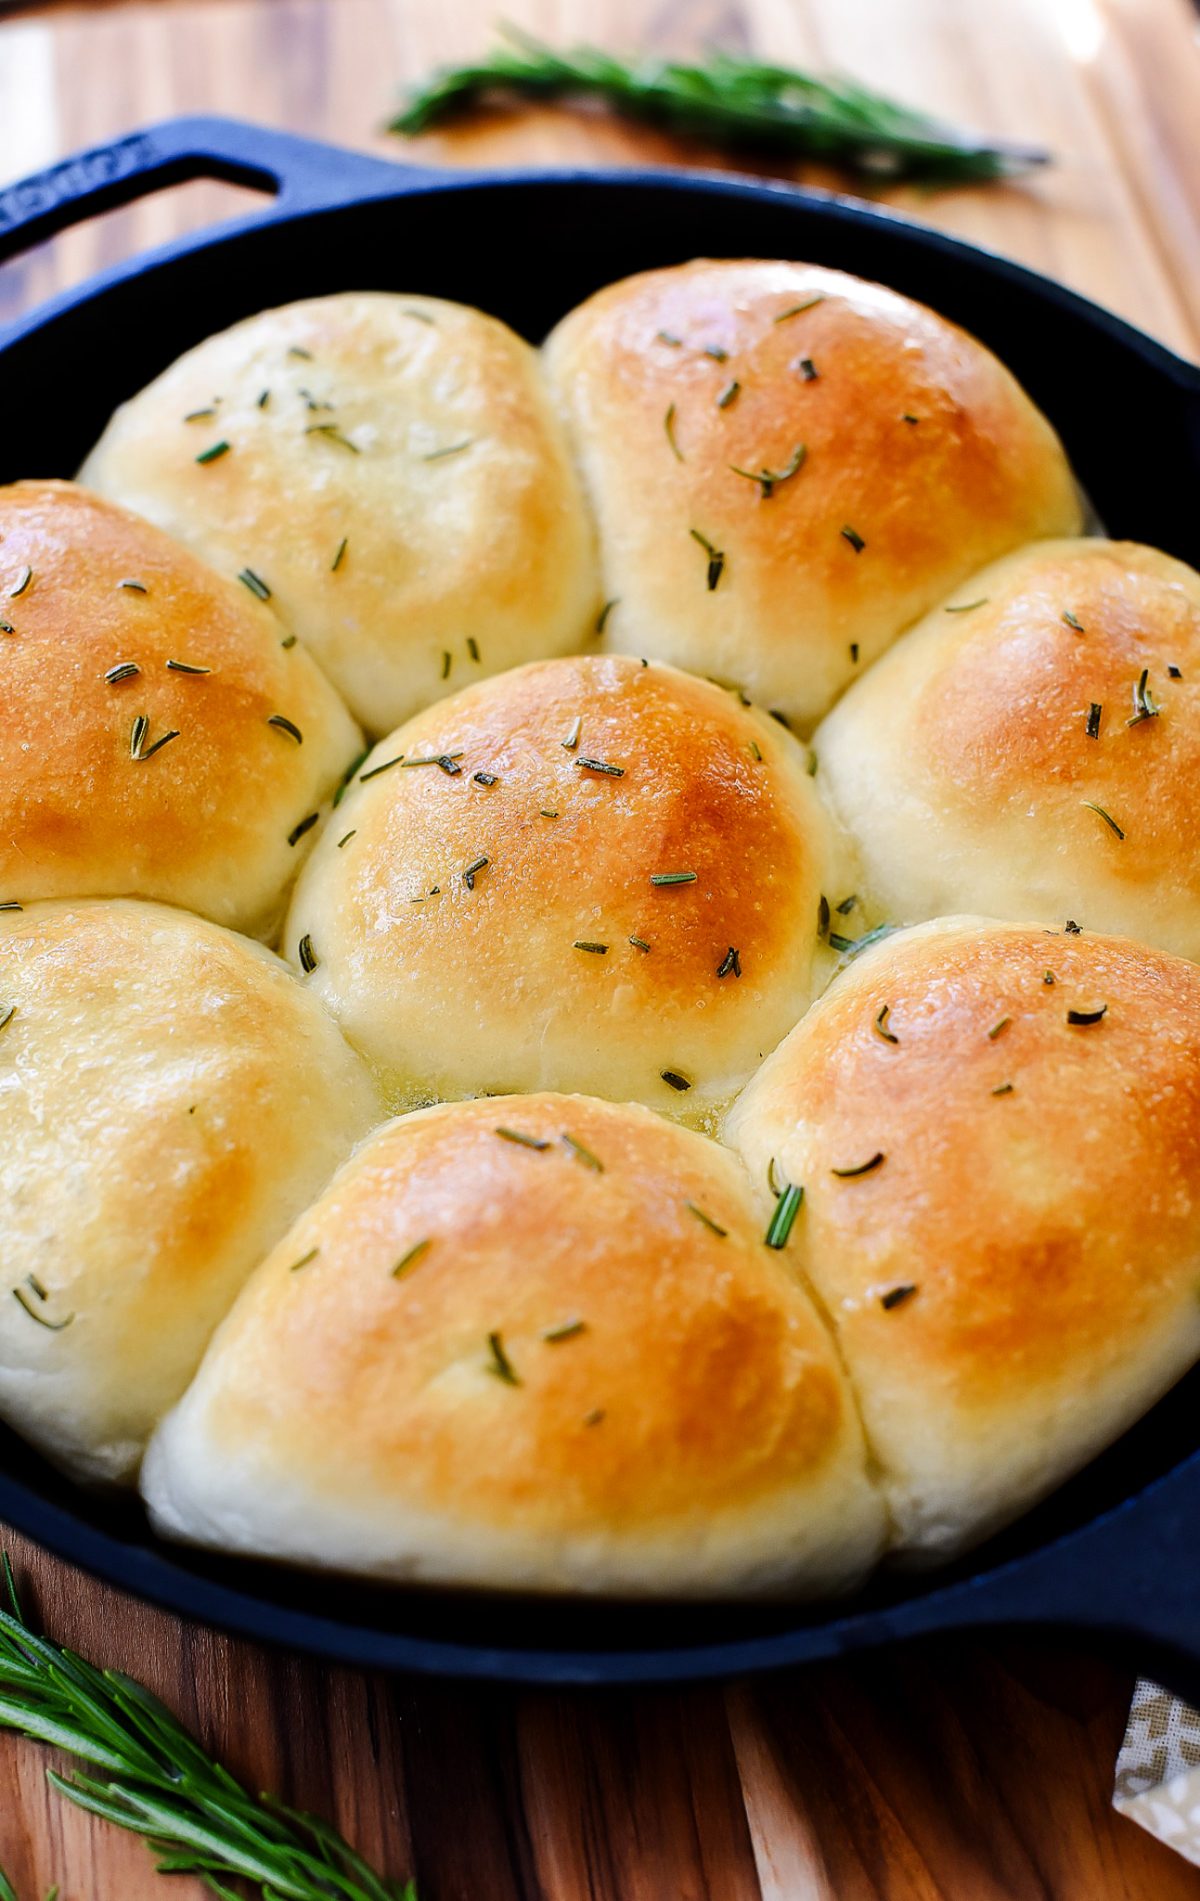
These Rosemary Rolls are fluffy and buttery with a hint of rosemary flavor. The best part about them is that they’re a cinch to make!
Looking for an easy Thanksgiving side dish? Meet my Rosemary Rolls that will have everyone begging for more. I have to admit it, my favorite part of Thanksgiving, or any meal for that matter, is the bread! Hands down, the bread. My carb-loving heart can’t imagine my life without it, so any bread-free diet would never in a million years work for me. I’ve tried it and I just never succeed.
I love to make homemade bread and rolls. I have a few roll recipes here on the blog that I adore to make, but when I don’t have a lot of time to spend in the kitchen, or just feel too lazy, I always use my back-up favorite: frozen Rhodes dinner rolls.
Looking for more dinner roll recipes? Explore my top-loved homemade bread rolls here. Searching for Thanksgiving side dishes? Explore more recipes here.
ROSEMARY ROLLS
I just genuinely love Rhodes rolls and use them when I can’t or don’t want to whip up homemade. My very favorite way to use the frozen rolls is in this Rosemary Rolls recipe. It is delicious, you guys. Seriously SO good! And it really could not be any easier to do.
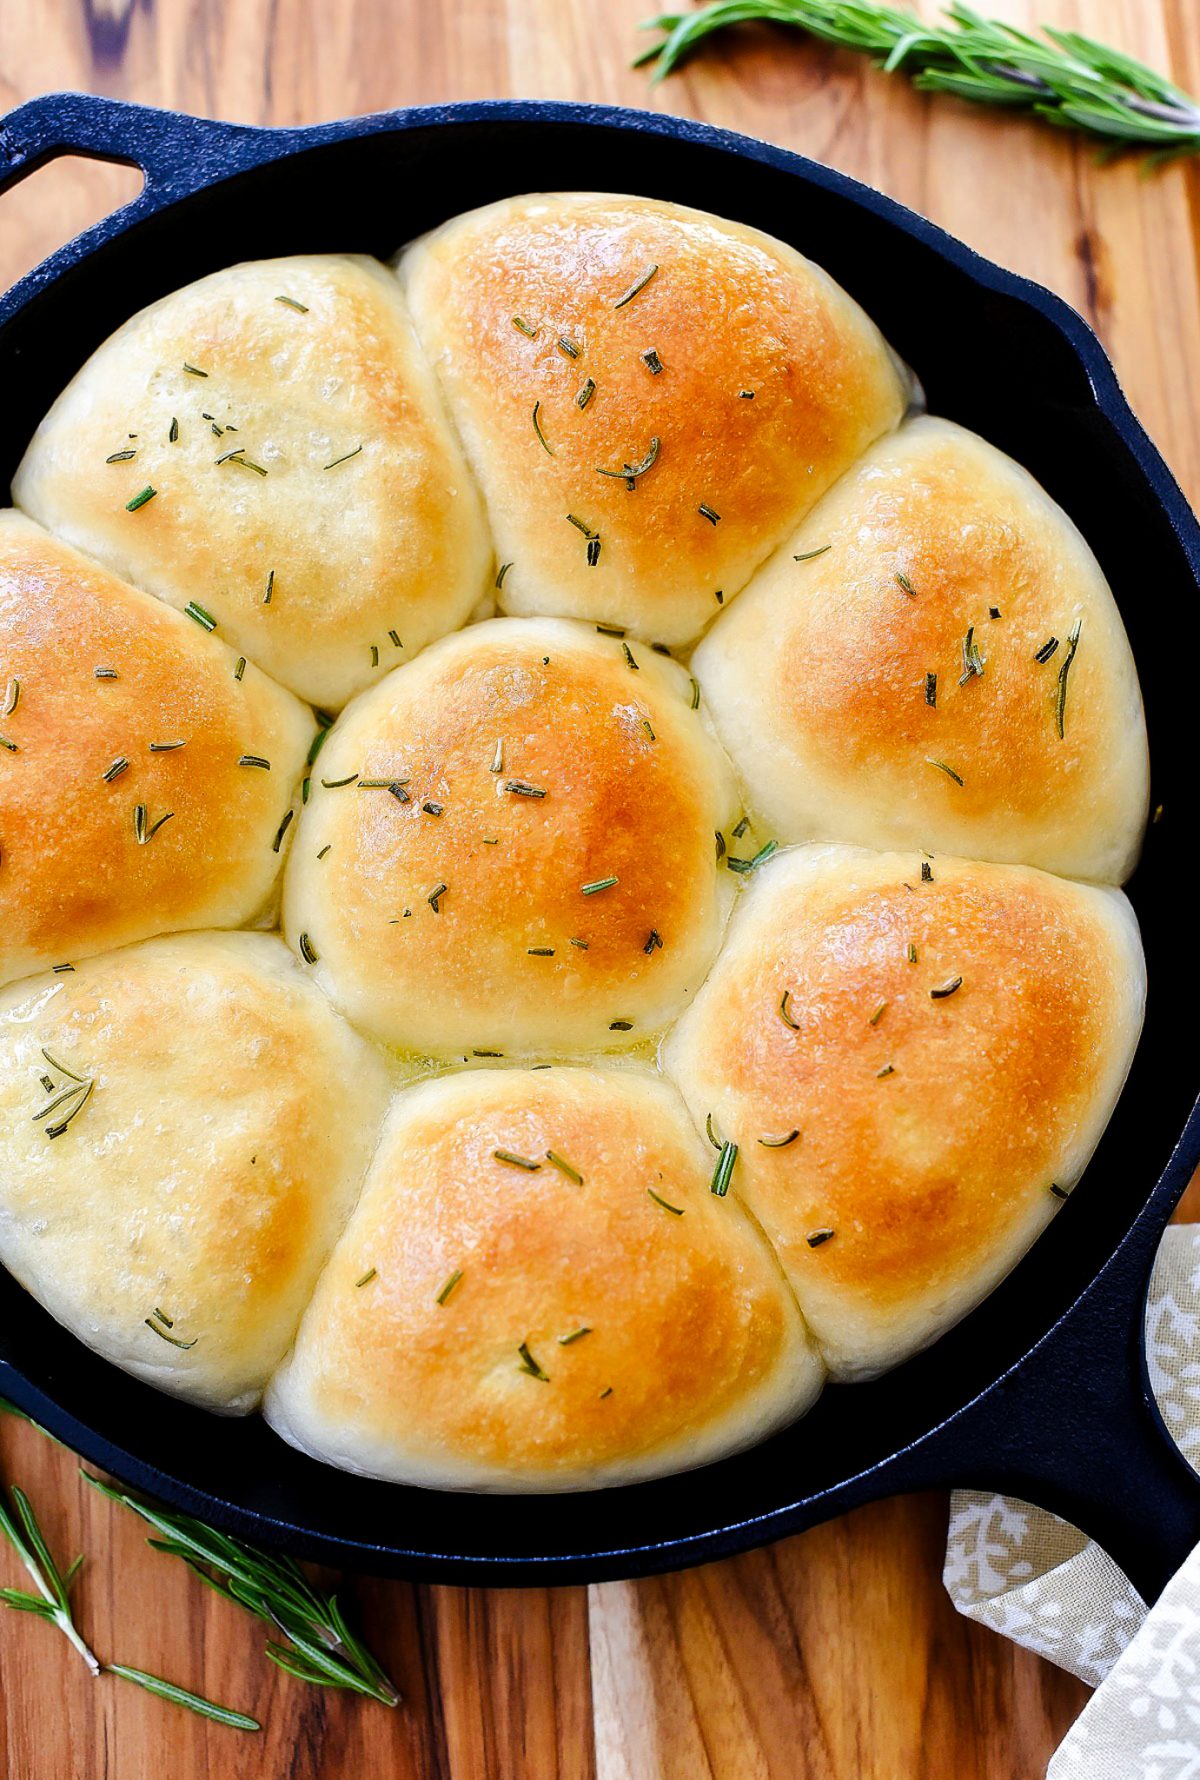
Just pop a few of the frozen rolls into a cast-iron skillet, let them rise, and then brush with melted butter, fresh rosemary, and sea salt. They bake up beautifully. Once you take your first bite, there will be no going back. I know they’ll become your favorite too!
Find my expert tips on how to make rosemary rolls below! Don’t forget to tag me in your artisan bread recipe creations on Instagram and Facebook @lifeinthelofthouse. I always love to see what you’re baking! ❤️ 🍞
Why You’ll Love These Homemade Rosemary Rolls:
- Easy & Convenient: Using frozen Rhodes rolls makes this recipe quick and stress-free—no need to make dough from scratch.
- Perfectly Fluffy: The rolls rise beautifully in a cast-iron skillet, giving you soft, tender bites every time.
- Aromatic & Flavorful: Fresh rosemary, melted butter, and a sprinkle of sea salt create a savory, irresistible aroma and taste.
- Crowd-pleasing Holiday Side Dish: These rolls are perfect for holidays, dinner parties, or any special occasion. It’s safe to say, these rosemary dinner rolls will disappear fast!
- Simple Yet Impressive: Minimal effort delivers a bakery-quality result that will wow anyone who tries them.
- Addictive: Once you take your first bite, you’ll understand why these rosemary rolls are impossible to resist.
Ingredients
- 8 frozen unbaked dinner rolls (I use the Rhodes brand)
- 1/4 cup melted butter
- Fresh rosemary chopped
- 1/2 teaspoon coarse sea salt
Instructions
Spray a 10-inch cast-iron skillet with cooking spray. Place frozen rolls in the skillet, leaving plenty of room for rising. Cover and allow to rise for 3 to 4 hours or until fully risen.
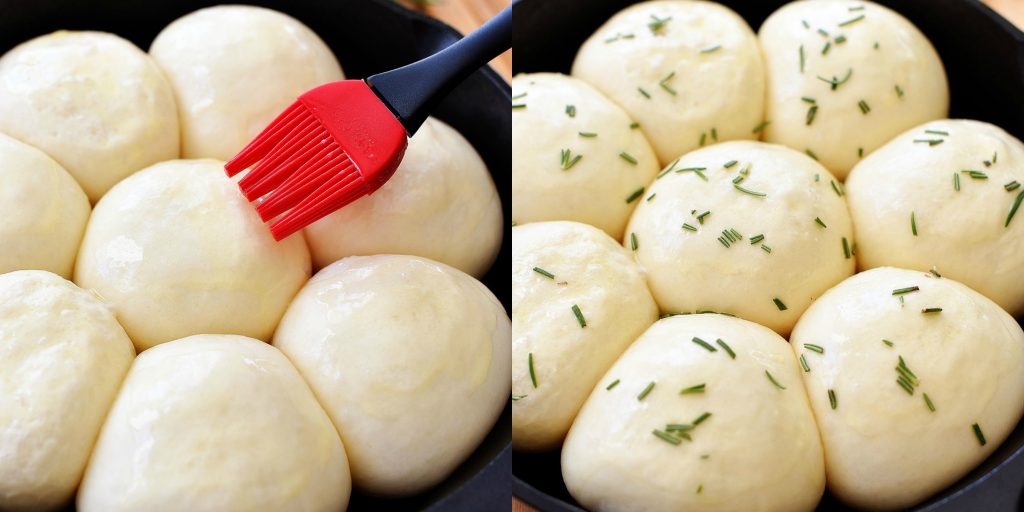
After rising, brush rolls with melted butter. Sprinkle on the desired amount of chopped rosemary. Brush with additional butter. Sprinkle evenly with coarse sea salt.
Bake according to roll package directions (350 degrees F. for 15 minutes) or until rolls are a deep golden brown. Serve warm and enjoy!
Servings
Yields: 8 rosemary rolls. Feel free to double the recipe to feed a larger crowd!
Storage and Reheating
Store leftover rosemary rolls in an airtight container at room temperature for up to 2 days. For longer storage, wrap them tightly in foil or plastic wrap and freeze for up to 2 months. To reheat, warm individual rolls in the microwave for 15–20 seconds or place the whole batch in a 350°F oven for 5–10 minutes until soft and fragrant. Brushing with a little extra melted butter before serving brings back that fresh-baked flavor.
Holly’s Tips for The Best Rosemary Rolls:
- Use A Cast-Iron Skillet: It distributes heat evenly and helps the rolls bake with a beautiful golden crust.
- Space The Rolls Out: Leave room between the frozen rolls so they can rise properly and bake evenly.
- Be Patient With The Rising: Allow 3–4 hours for the rolls to fully rise; this ensures soft, fluffy centers.
- Double The Butter: Brushing both before and after sprinkling rosemary locks in flavor and adds a glossy, golden finish.
- Fresh Rosemary Matters: Use freshly chopped rosemary for the most aromatic and flavorful rolls.
- Adjust Salt To Taste: Coarse sea salt adds texture and enhances flavor—don’t skip it!
- Serve Warm: These rolls are at their best right out of the oven, but you can reheat gently to bring back that fresh-baked aroma.
Frequently Asked Questions:
Yes! Any high-quality frozen dinner rolls will work, but please be wary that baking times may vary slightly depending on the brand.
A cast-iron skillet is ideal for even baking and a golden crust, but you can also use an oven-safe baking dish or pie pan.
Plan for 3–4 hours at room temperature until the rolls have fully risen. Rushing this step can result in denser rolls.
Absolutely! Fresh rosemary gives the best flavor, but thyme or oregano can be used for a different twist.
Brushing both before and after adding rosemary enhances flavor, keeps the rolls moist, and gives a beautiful, glossy finish, but one brushing is fine in a pinch.
You can prepare and let them rise, then cover and refrigerate for a few hours before baking. For longer storage, bake fully, cool, and freeze for up to 2 months.
To make your Rosemary Rolls recipe gluten-free, you can use gluten-free frozen dinner rolls instead of standard rolls. Brands like Rhodes may not have a gluten-free option, so look for brands such as Canyon Bakehouse, Udi’s, or Kinnikinnick that offer gluten-free rolls or buns suitable for baking. Follow the same rising and baking instructions, but keep an eye on baking time, as gluten-free doughs can brown faster or require slightly less time.
You can also use a gluten-free all-purpose flour blend if you want to make the rolls from scratch, ensuring it contains xanthan gum or another binder to mimic the structure of traditional wheat dough.

Similar Recipes
Looking for more delicious dinner roll recipes? You can’t go wrong with my Rosemary Rolls, French Bread Rolls, The Best Dinner Rolls, or my Copycat Texas Roadhouse Rolls.
Have you made this Rosemary Rolls recipe? ❤️
Leave a review, and don’t forget to tag me in your creations on Instagram and Facebook! @lifeinthelofthouse! #RosemaryRolls #DinnerRolls #LifeInTheLofthouse
Rosemary Rolls
Ingredients
- 8 frozen unbaked dinner rolls (I use the Rhodes brand)
- 1/4 cup melted butter
- Fresh rosemary chopped
- 1/2 teaspoon coarse sea salt
Instructions
- Spray a 10-inch cast iron skillet with cooking spray. Place frozen rolls in the skillet, leaving plenty of room for rising. Cover and allow to rise for 3 to 4 hours or until fully risen.
- After rising, brush rolls with melted butter. Sprinkle on desired amount of chopped rosemary. Brush with additional butter. Sprinkle evenly with coarse sea salt.
- Bake according to roll package directions (350 degrees F. for 15 minutes) or until rolls are a deep golden brown. Serve warm and enjoy!
Recipe adapted from: Pioneer Woman.
WANT TO SAVE THIS RECIPE FOR LATER?
PIN IT TO YOUR FAVORITE PINTEREST BOARD! 📌


One Comment